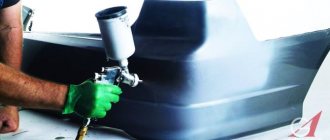
A newborn's gaze lingers longer than others on the brightest and largest toys. The attention of adult “children”, that is, men and women, is attracted by fashionable, bright, unusual things. Most car enthusiasts want to make the facade of their “four-wheeled” friend more stylish, for example, with the help of an installation. However, branded linings from the RIF or ARB brands are expensive. For drivers who know how to work with their hands, a solution to the problem of how to make a power bumper with your own hands is proposed.
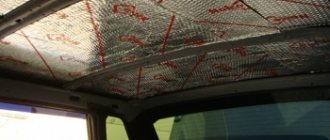
This article discusses the process of decorating a car using the front part of the bumper as an example, although there are options for strengthening the sills, roof, rear bumper, radiator and other parts of the car.
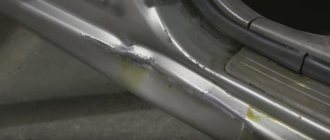
Front bumper on UAZ bread © Maryan Popovich [Mariano]
First of all, we must give credit to the Engineer, as my son would say, “Respect and Respect,” because his drawings were taken as a basis. So, in order. Having downloaded the drawings of the front bumper, I made a model of the bumper (without arches) from galvanized steel and installed it on the UAZ.
Since this bumper was not designed for this car, it was necessary to make 4 cuts and, with the front of the bumper away from the car, bend the bumper wings to a manageable size (the front of the loaf was still a little rounder than the bobby), then secure with self-tapping screws
Then came pure “aesthetics”, I didn’t really like the bumper fangs
and I went “to the other side,” as Vladimir Ilyich said, that is, I changed the design a little
After all these manipulations, the bumper became metal (3 mm thick). With bows it was more difficult, but solvable. The dimensions are taken from a photograph of a RIF bumper for a UAZ-31 installed by someone using alcohol, which was also downloaded from the Internet. Using the distortion coefficient, you can determine the size of interest with “acceptable” accuracy for the bumper.
Example: knowing (measuring) the effective diameter, for example, of a UAZ headlight, say 180 mm, and the size of the same headlight in the picture, say 9 mm, we have 180/9 = 20, this is the distortion coefficient. We measure the thickness of the tube on the kenguryatnik in the same photo, us 3mm 3x20 = 60mm, that is, the actual size of the tube in the photo is approximately 60mm. The larger the photo, the more accurate the size calculation will be, for example, I took the numbers “from a bulldozer.” It seems to be clearly stated.